Sunday, September 7, 2014

Sunday morning pancakes - made healthier!

What you'll need:


Makes 10 pancakes

Prep time: 15 minutes
Cook time: 10 minutes

Ingredients:

  • 1 cup oats
  • 1/2 cup brown rice flour (found at Whole Foods)
  • 2 tbsp arrowroot powder (found at Whole Foods)
  • 2 tsp baking powder
  • a pinch of sea salt
  • 1/2 tsp cinnamon
  • 1.5 cups + 3 tablespoons almond milk
  • 2 tablespoons agave nectar
  • 2 teaspoons pure vanilla extract 
  • 1 large ripe banana chopped
  • Maple syrup for topping
  • Olive oil spray 

Directions:

  • In a blender, blend the 1 cup oats on into a fine flour. Place into a large bowl. Whisk in the rice flour, arrowroot, baking powder, salt, and cinnamon.
  • In a smaller bowl, whisk together the almond milk, agave nectar, and vanilla extract. Pour this onto the dry ingredients and whisk the batter until it's clump-free.
  • Dice the banana and pour into the batter. Whisk until combined.
  • Lightly grease a skillet with olive oil spray. Scoop 1/4 cup of batter onto the preheated skillet and quickly spread the batter out into a circle. Cook until some bubbles appear and the edge looks deeper in color and more firm. Flip and cook for another couple minutes until golden. Adjust heat as needed. Repeat for the other pancakes. Spray the skillet with olive oil spray before each new batch of pancakes.
  • Stack and serve with pure maple syrup!


I made these for my boyfriend and I for the first time today and we loved them! I admit, they aren't as fluffy as a traditional pancake but they delicious with hints of vanilla and cinnamon and the banana adds volume and makes them very filling! So go ahead and try these out as a healthier twist to your traditional Sunday morning pancakes :)!


Sunday, August 31, 2014

Scrumptious vegan chocolate almond butter cups


Ingredients:


Makes 12 chocolate almond butter cups

adapted from Oh She Glows

For the almond butter layer:
  • 1.5 cup raw almonds, ground into a meal
  • 1/2 cup rolled oats, ground into a flour
  • 4 tablespoons almond butter (I like Justin's brand, sold at Target)
  • 3 tablespoons coconut oil
  • 3 tablespoons pure maple syrup
  • 1/2 teaspoon cinnamon
  • 1/2 teaspoon pure vanilla extract
  • 1/8 tsp sea salt

For the chocolate layer:
  • 6 tablespoons coconut oil
  • 6 tablespoons pure maple syrup (or 2 tbsp agave nectar)
  • 4 tablespoons cocoa powder
  • 1/8 tsp sea salt

  • Blend almond and oats in a blender to create a flour. Pour into a large bowl.
  • Add the nut butter, coconut oil, maple syrup, cinnamon, vanilla, and salt into the bowl. Stir until thoroughly combined. The dough should be fairly sticky like cookie dough.
  • Line a regular muffin tin with paper liners. Portion the dough into each muffin cup and press down until even and smooth.
  • To make the chocolate layer: Whisk together the coconut oil, maple syrup, cocoa powder, and salt until no clumps remain. Spoon the sauce over top each of the cups, distributing evenly. Garnish cups with sliced almonds if desired.
  • Place in the freezer in a flat area for 30-45 minutes, until firm. Pop out the cups & enjoy immediately! 


My boyfriend and I agree, this is the best dessert  I've made for the blog yet!! These morsels will melt in you mouth, so go make a batch!


Friday, August 29, 2014

Decadent apple cinnamon pull apart buns


Umm, first of all can we just talk about how much you HAVE to try this recipe?? It was sooo delicious! Quite a bit of work making it, but so worth it! Scroll down for the recipe!

What you'll need:


Ingredients:


  • 2 1/4 cups all-purpose flour
  • 2 tbsp granulated sugar
  • 1 tsp salt
  • 1 packet (2 1/4 tsp) Active Dry Yeast
  • 1 cup warm water (microwave a cup of cold water for approx. 40 seconds)
  • 2 tbsp Earth Balance Buttery Stick
  • 1 egg replacer (1 tsp egg replacer + 2 tbsp warm water) I used Bobs Red Mill egg replacer from Whole Foods (in powder form), see pic above.
  • 4   tsp ground flaxseeds
  • 2   tsp granulated sugar
  • 1/2  tsp ground cinnamon
  • 1/2 of a medium apple, cored and thinly sliced
  • 3 tbsp chopped walnuts
  • 2 tbsp packed brown sugar
  • 2 tbsp orange juice
  • 1 tbsp earth balance buttery stick


  • For the home made buns:

    • In a small bowl mix 2 1/4 tsp of Active Dry Yeast with 1/4 cup of very warm water (between 110 and 115 degrees F). Stir and let dissolve. Now add 1 tsp of sugar and stir. Let it sit for a good 5-10 minutes. You will know the yeast is active when it is slightly foamy and smells like bread.

    • In a stand mixer or by hand, add 1 and 1/4 cup of flour, remaining sugar (1 tbsp + 2 tsp), salt, and yeast mixture. Mix briefly for 10 seconds or so. Now, add the remaining very warm water (3/4 cup), slightly melted Earth balance, and egg replacer and mix until smooth. Slowly add in the rest of the flour (1 cup) and mix until smooth.

    • Cover and let rise in a warm place for 30 minutes. I put my bowl of dough in the oven with the light turned on (but not the oven itself!)

    • Grease a pie pan and set aside. After 30 minutes, remove the dough from the oven and knead with hands for a few seconds. Divide the dough into 12 balls with hands and place the balls into the pie pan (see image below).

    • Cover pie pan with towel and place back into the oven with light on for another 30 minutes. The rolls will expand and fill the pie pan during this time.

    • After 25 minutes, remove from oven and preheat the oven to 400F. After 5 more minutes, it is time to bake the rolls for 15-18 minutes until golden and fluffy. Makes 10 pull apart rolls.


Need the dough a few times and then roll into balls and place close together in a pie pan 


After coming out of the oven:


For the apple cinnamon filling:
  • Preheat oven to 350F. Coat an 8"X8" pan with cooking spray; set aside. In a small bowl combine ground flaxseeds, 1 1/2 teaspoons of the granulated sugar, and the cinnamon. Roll buns in flaxseed mixture to coat. Place buns in the pan and place apple slices over the buns. Sprinkle with any remaining flaxseed mixture. Top with walnuts.
  • In a small saucepan combine brown sugar, 2 tablespoons orange juice, and Earth balance buttery spread. Cook and stir over medium heat until boiling. Pour mixture over buns. Bake about 10 minutes and edges are golden. Let cool for 5 minutes before enjoying.


...And there you have it! Obviously 5 stars from both my boyfriend and I!!

Thursday, August 28, 2014

Healthy & hearty walnut lentil lettuce wraps


Recipe adapted from Oh She Glows

Ingredients:
For the Lentil-walnut meat (makes 2.5 cups):
  • 1 cup uncooked French green lentils (you will need 1 3/4 cups cooked lentils)
  • 1 cup walnut pieces, toasted
  • 1 1/2 teaspoons dried oregano
  • 1 1/2 teaspoons ground cumin
  • 1 1/2 teaspoons chili powder
  • 1/2 teaspoon fine grain sea salt, or to taste
  • 1 1/2 tablespoons extra virgin olive oil
  • 2 tablespoons water


For the topping/wraps:
  • 1-2 bell peppers, thinly sliced (I used one, but next time I will use 2 for ample leftovers)
  • 1/2-1 large onion, thinly sliced (I used 1/2 onion, but next time will use 1 for ample leftovers)
  • Cashew Sour Cream (see below for link)
  • Diced tomatoes or salsa
  • Green onion & fresh lime juice, for garnish
  • lettuce wraps (large romaine, Iceburg, or Butter lettuce leaves)
  • Other topping options: Sliced avocado, hot sauce, cilantro, etc.

For the cashew sour cream:
  • 1 cup raw cashews, soaked
  • 1/2-3/4 cup water, as needed
  • 2 teaspoons fresh lemon juice
  • 1 teaspoon apple cider vinegar
  • 1/4-1/2 teaspoon fine grain sea salt, to taste

Directions:
  1. Cook the lentils: Rinse lentils in a fine mesh sieve. Add to a medium pot along with a few cups of water. Bring to a boil, reduce heat to medium, and simmer for 20-25 minutes until tender (cook time will vary depending on the type of lentils you use - see package). Drain off excess water.
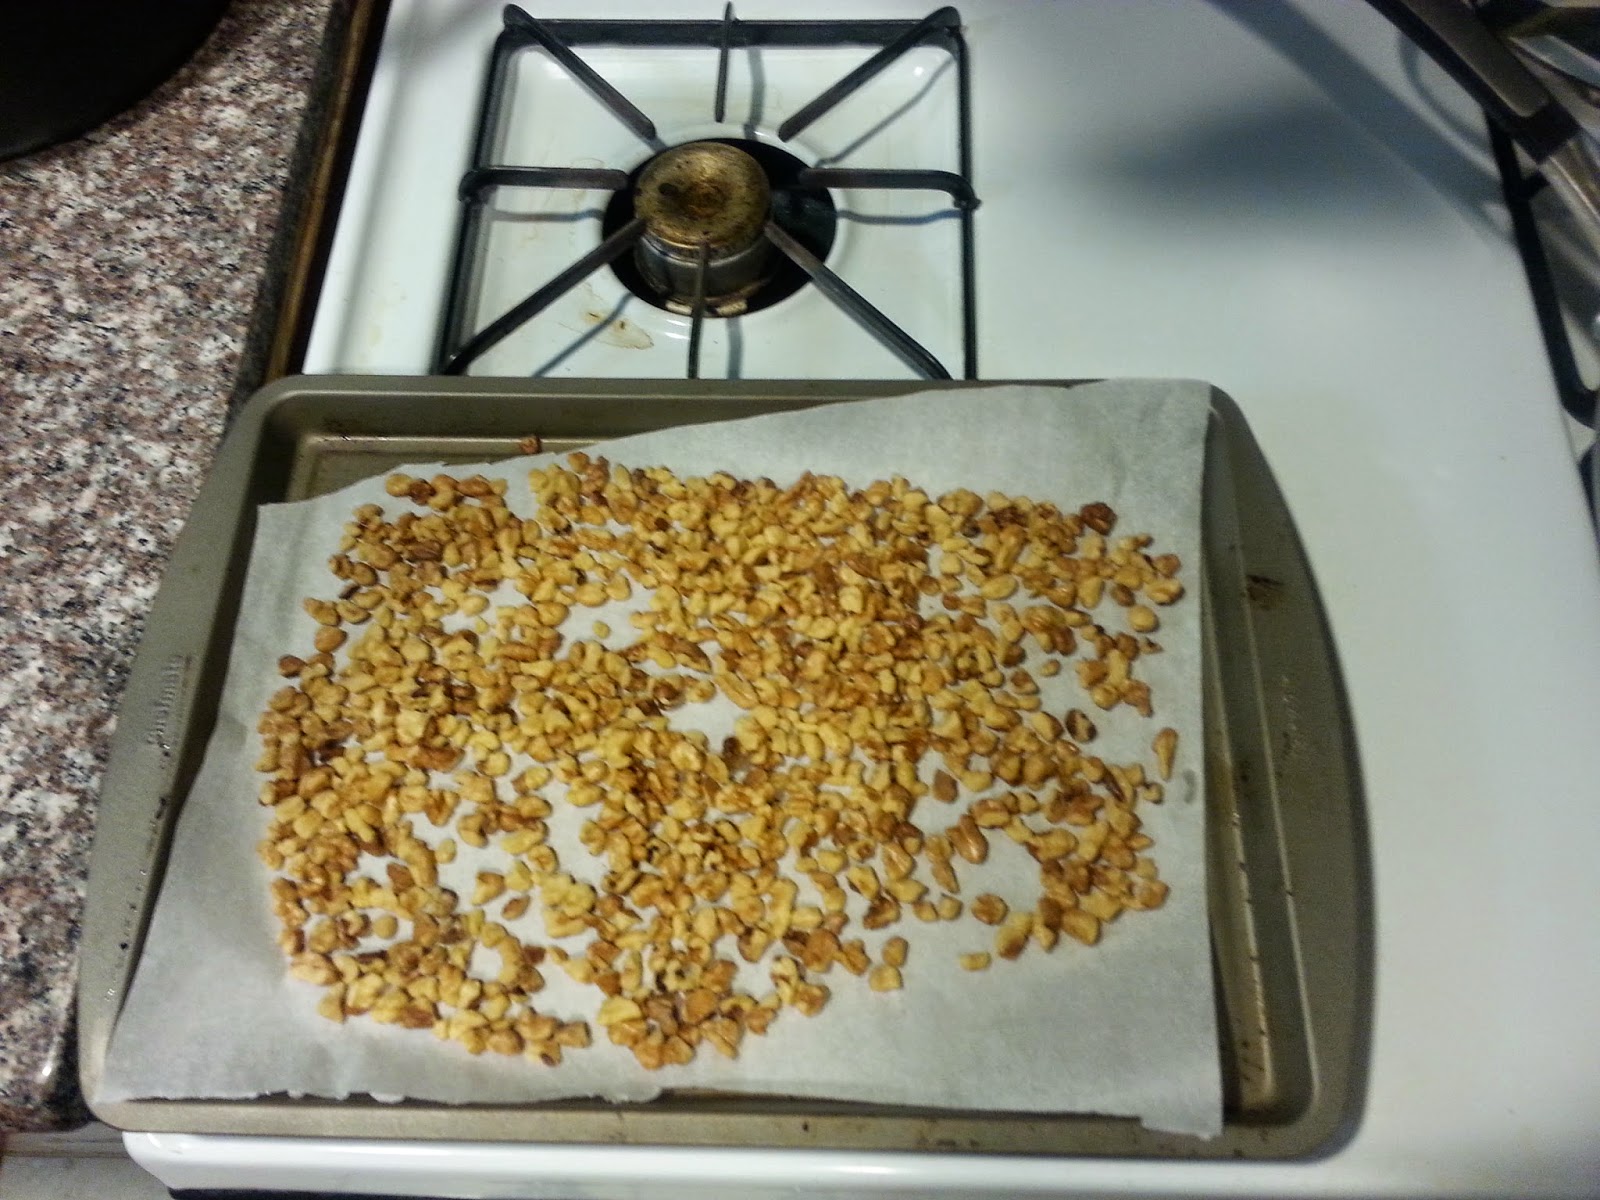
  1. Toast the walnuts: Preheat oven to 300F. Add walnuts onto a rimmed baking sheet and toast for 10-13 minutes, watching closely, until lightly golden and fragrant. Set aside to cool for a few minutes.
  1. Saute the pepper + onion filling: Add 1/2-1 tablespoon of oil into a large skillet or wok. Cook the onion and peppers over medium heat for about 15-20 minutes, reducing heat if necessary and stirring frequently, until translucent.
  1. Prepare the taco meat: Add 1 3/4 cups cooked lentils (you'll have some leftover) and all the toasted walnuts into a food processor and pulse until chopped (make sure to leave texture). Stir or pulse in the oregano, cumin, chili powder, and salt. Stir in the oil and the water until combined.
  1. Prepare the rest of your vegetable toppings and wash + dry the lettuce wraps.
  1. Assemble: Add a large lettuce leaf onto a plate, top with taco meat, sauteed peppers + onion, and the rest of your desired toppings.
  2. For the sour cream: 
    • Place cashews in a bowl and cover with water. Soak for a minimum of 2 hours, preferably overnight or for 8 hours if you have the time.
    • Drain and rinse the cashews and place in the blender.
    • Add water, lemon, vinegar, and salt. Blend on high until smooth. You might have to stop to scrape down the blender now and then or add a touch more water to get it going.
    • Once it's super smooth, it's ready! Transfer into a small container. The cream will thicken up as it sits.



Get ready to make the delicious sour cream:


When I bit into these, I was pleasantly surprised by all the delicious flavors! For a serious meat eater however, or someone new to incorporating more veggies in their diet, you can stuff the filling in a large whole wheat tortilla instead of lettuce wraps. That way they won't get scared off by all the vegetation! However, f you are bold enough to get your veg on, try them in lettuce wraps like I did! They are delicious & hearty! The walnut meat is especially addictive, and I look forward to using it more in future recipes!


Wednesday, August 27, 2014

Yummiest double chocolate chip cookies


Tonight I made an adapted version of another Oh She Glows recipe (mostly the same, only a few tweaks) - I had a sweet tooth I just HAD to satisfy! Dairy free desserts can make people skeptical about their taste, but believe me, these are divine!!

What you'll need:


Makes 12 cookies

INGREDIENTS:
  • 1 tablespoon ground flax mixed with 3 tablespoons water
  • 1/4 cup virgin coconut oil (do not melt)
  • 1/4 cup almond butter
  • 1/3 cup unpacked brown sugar
  • 1/3 cup natural cane sugar
  • 1 teaspoon vanilla extract
  • 1/2 teaspoon baking soda
  • 1/2 teaspoon baking powder
  • 1/2 teaspoon sea salt
  • 3 tablespoons cocoa powder
  • 1.5 cups gluten-free rolled oats, processed into flour (or 1.5 cups oat flour)
  • 1-2 teaspoons unsweetened almond milk (only if needed to moisten batter)
  • 1 cup non dairy chocolate chips (I love Enjoy Life brand, you can find them at Target & Whole Foods)

Directions:

  1. Preheat oven to 350F and line a large baking sheet with parchment paper. In a large mixing bowl, mix together the flax and water and set aside for a few minutes so it can thicken up. Whisk the flax water again once thickened.
  2. Add the rest of the wet ingredients into the bowl with the flax egg (coconut oil, almond butter, brown sugar, cane sugar, and vanilla). With a hand-held electric mixer, beat the ingredients until combined and smooth.
  3. Now, beat in the dry ingredients, one by one, as you go down the ingredient list (baking soda, baking powder, salt, cocoa powder, oat flour). If your dough is a bit dry, add a teaspoon (or two) of almond milk and beat the mixture again. The dough should be moist enough to form balls without cracking, but not super sticky.
  4. Pour in the chocolate chips and stir.
  5. Shape balls of dough (about the size of a golf ball or 2 heaping tablespoons) and place on the baking sheet 2-3 inches apart. Gently press down on each ball with your hand to form a disc (it should be 1/2-inch thick or so).
  6. Bake for about 12-13 minutes until the cookies are spread out nicely.
  7. Cool cookies on the baking sheet for 7 minutes or so and then enjoy!


My meat-lover boyfriend's approval rating:


Though we both really liked these, but we gave it 4 stars because turned out a bit flat and crispy. Still super yummy & rich though! And they are definitely the perfect fix for a chocolate craving!! :)


Enjoy them thoroughly!!